Metal roofs earn their reputation the hard way. They shrug off hail that would bruise asphalt, they handle snow loads without sagging, and they ride out summer heat with fewer complaints than most roofing systems. Yet even a well-installed steel or aluminum roof can leak. When it does, the water rarely announces itself at the exact source. It might travel along a panel rib, sneak behind a trim, or find an old fastener hole, then drip into a living room twenty feet from the breach. Fixing those leaks demands more than a caulk gun and a ladder. It takes system knowledge, a disciplined inspection method, and the right repair materials applied the right way.
I have spent enough mornings on sheet metal, surrounded by dew and flashing tape, to know how leaks start and how they stop. Whether you manage commercial metal roofing across several facilities or you own a farmhouse with a standing seam roof, the repair approach is similar: understand the system, isolate the failure, then restore it to factory logic. What follows are the techniques and judgment calls that separate guesswork from lasting repairs.
How metal roofs leak when everything looks fine
Most leaks are not dramatic punctures. They come from details that moved a little, shrank over time, or were never quite right to begin with. Fasteners back out. Sealant loses elasticity. Panels expand and contract thousands of cycles per year, more if the building sits in wide temperature swings. That movement tests every joint and penetration.
On mechanical seamed systems, leaks usually crop up around terminations and penetrations. The seams themselves are robust if locked properly. The weak points are the places humans had to improvise around skylights, curbs, or walls. On exposed fastener panels, the membrane is riddled with screws. Each one has a washer that ages. It is not the first year that hurts you, it is the eighth or the eleventh.
I see the same pattern on both residential metal roofing and commercial metal roofing: when a leak shows up in the field of the roof, the source tends to be above or upslope and off to one side, at a seam or a screw line. When it shows up near a wall or eave, look to the flashing geometry first.
The diagnostic walk that saves you hours
Before you pick up any tools, walk the whole roof with a notepad. Work upslope. Trace the wet interior point to the roof, then widen your circle. On a cool morning, subtle problems stand out. You will see dirt tracks where water flows and dries. You might see oxidation around a screw or a hairline crack in a butyl joint. Take photos. Mark panel ribs with painter’s tape where you suspect a run path. If you have a drone, use it to examine steep sections or delicate coatings, but do not let it replace a hands-on inspection.
Here are the questions I ask myself while I walk:
- What is the panel type, fastening method, and manufacturer logic? Standing seam, snap-lock, or exposed fastener? Single- or double-lock seam? This tells me what repairs are compatible and what tools I will need. Where is movement concentrated? Long panels move more. Light-gauge panels move differently than heavy-gauge. Certain clip systems allow more travel. Movement points to stress at penetrations, ridge caps, and transverse seams.
I keep a small kit in my bag: a magnet for steel verification, a digital camera, a tape measure, a torx bit and screw gun with clutch, a handful of oversized fasteners, and a tube of high-solids butyl or silyl-terminated polyether sealant for temporary containment. Permanent fixes come later, but a roof in active leak needs immediate control.
The hierarchy of repair: restore the detail, not just the hole
Good metal roofing contractors think like the manufacturer who wrote the installation manual. Every panel and trim detail has a way it wants to shed water. When a leak appears, the goal is to rebuild that logic. This is why simply slathering sealant over a seam rarely sticks past a season. Sealant is a component, not the repair itself.
The most reliable sequence I follow is this: correct structure and fastening, then improve the flashing, then add gaskets or tapes, then add sealant as a redundant shield. If the structure below is compromised, you will never hold a long-term seal.
Fastener fixes that actually last
If the roof uses exposed fasteners, check them first. On a 10,000-square-foot building, I often find 2 to 5 percent of screws backed out by one to three turns. Thermal cycling lifts them; wind vibration finishes the job. Once the washer loses compression, capillary action pulls water down the shank.
You have three options, and which one works depends on metal thickness and substrate condition:
- If the threads still bite cleanly, remove and replace with the same size using a new washered fastener. Do not overdrive; set the clutch to stop when the washer just mushrooms. If the hole has enlarged, step up to the next diameter screw designed for metal-to-wood or metal-to-steel, as required. Use a high-quality screw with a stainless cap or long-life coating, and a UV-stable washer. If the substrate is punky or stripped, you need a repair rivet or a toggle-type solution, then a new fastener shifted slightly to fresh material. In timber decks that means moving the screw half an inch to one side if the panel slot allows it. Seal the abandoned hole with butyl and a rivet or a stitch of sheet with pop rivets.
On standing seam systems, exposed fasteners are limited to trims and accessories. Check ridge caps, rake trims, and flange flanges. I have fixed more “mystery leaks” by tightening a line of loose ridge fasteners than I care to admit.
Panel seams and transverse joints
Long runs sometimes include a horizontal, or transverse, seam where one panel overlaps another. Older repairs often relied on acrylic caulks that became brittle. Modern practice favors butyl tape plus mechanical fastening. The repair is straightforward if you can access the lap without removing the panel.
Clean the joint with a non-residue cleaner. Dry the area completely. Remove old sealant with a plastic scraper to avoid scarring the finish. Install fresh butyl tape of the right width along the waterline, add stitch screws or blind rivets at the specified spacing, then tool a thin bead of compatible sealant over the fastener heads. On painted steel, a color-matched, non-silicone sealant formulated for metal roofing services is worth the extra cost. Silicone rarely bonds well to new paint or old butyl, and it complicates future coating.
Seamed standing seam systems are rarer to leak along the lock unless something disrupted the clip spacing or someone stepped on the rib improperly. If a lock has opened, use the manufacturer’s seamer or a field hand seamer to re-engage. Do not try to fake a seam with an adhesive alone. If wind uplift created the separation, add supplemental clips or screws at the purlin line below, following structural guidance.
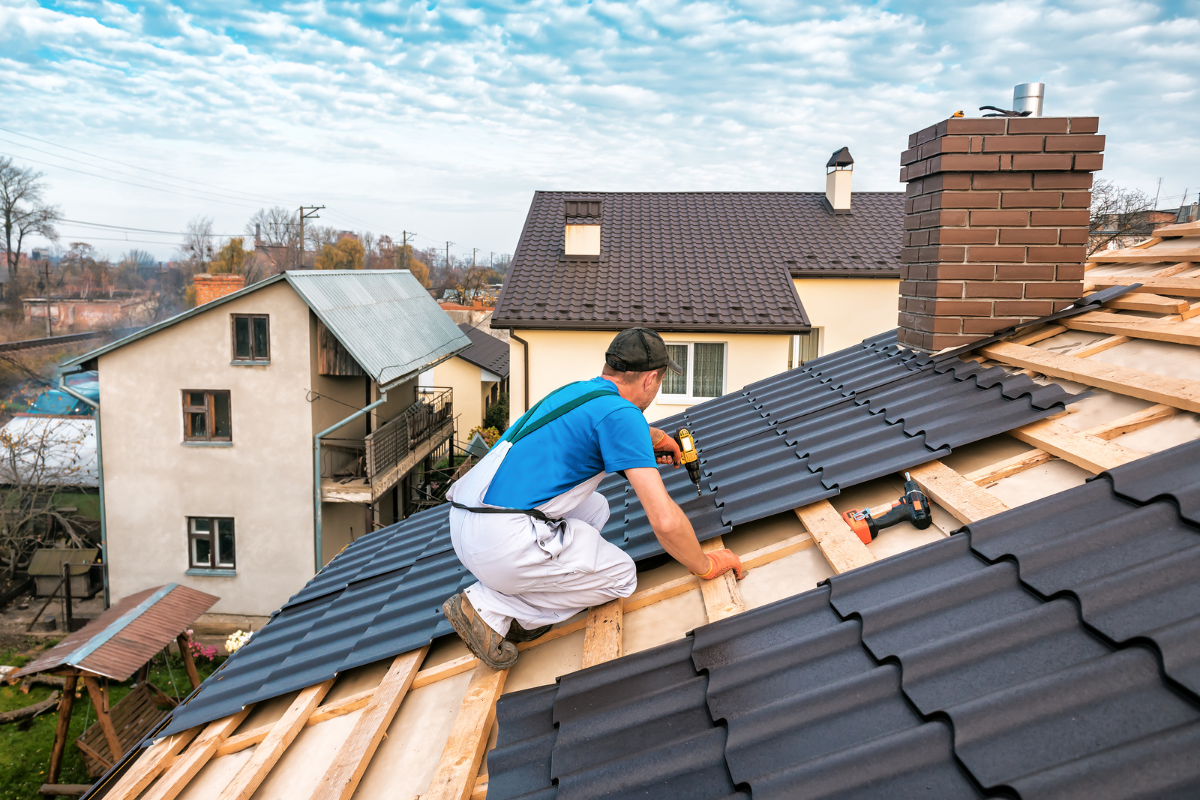
Penetrations: pipes, skylights, and equipment curbs
Most difficult leaks happen at penetrations because they blend framing, mechanical equipment, and roof chemistry. A pipe boot that worked on day one may fail in year ten as the pipe paints itself with condensation, or as the roof oscillates in heat.
For round pipes, EPDM or silicone boots with an aluminum or stainless base can last, but only if the base conforms perfectly to the panel ribs and the fasteners sit in flat spots. The trick is to cut the boot one ring smaller than the pipe, grease it lightly so it slides without tearing, and seat the base onto a bed of butyl tape, not just sealant. Fasten on the flats with stitch screws at tight spacing. Tool a light bead at the upper edge, and add a stainless band clamp around the boot collar. If the pipe is hot, like a flue, use a high-temp silicone boot and a heat shield where required by code.
Skylights and equipment curbs demand proper curb height and pan flashing. I see too many 2 inch curbs in snow country. They pond and leak. For repairs, you often cannot rebuild the curb height, but you can add diverter pans upslope and rework the side flashings to carry water around the curb. Lay new pan flashing under the upslope panel with concealed fasteners, then bring side flashings up into the rib channels with notched hem tabs. This kind of work is where a seasoned metal roofing repair service shines. If your local metal roofing services provider cannot hem and notch cleanly, find one who can.
Wall intersections and end details
Where a roof dies into a vertical wall, step flashings or end dams control the water. Retrofits often rely on surface-sealed counterflashing, which fails when the sealant shrinks. The best repair is to install a through-wall counterflashing that sheds over the step or end flashing. If that is not feasible, add a reglet cut into the masonry and set new counterflashing with lead wedges and sealant backer. Rework the end dams at the rib terminations so each rib has a closed cap and a small return to stop water from rolling over the end. These small, fussy metal moves stop most leaks at walls.
At the eave, drip-edge geometry matters. If water curls back under the panel by surface tension, a simple kick-out on the drip edge can break the bond. I have bent a half-inch kick on an eave trim with a hand brake on site and watched the leak disappear.
Coatings, tapes, and when to use each
Liquid-applied roof coatings have a place, but they are not magic. Use them to extend the life of a tired roof after you have stabilized the fasteners and reworked the flashings. A 15 to 20 mils dry film elastomeric coating over a cleaned, primed steel roof can bridge hairline cracks and add weathering protection. It will not rescue a failing seam or a rotten substrate.
For targeted repairs, butyl seam tapes are the workhorse. They maintain elasticity, bond to painted metal, and resist cold flow when supported. Use them beneath laps, under trim flanges, and behind counterflashings. Reinforced tapes, like scrim-backed butyl, add tear resistance at dynamic joints.
Avoid putting peel-and-stick tape directly over dirty or chalked paint. Clean and prime if necessary, then apply with firm pressure and a roller. Temperature matters. Below 40 F, many tapes will not wet in properly. Plan your workday around the sun and the season.
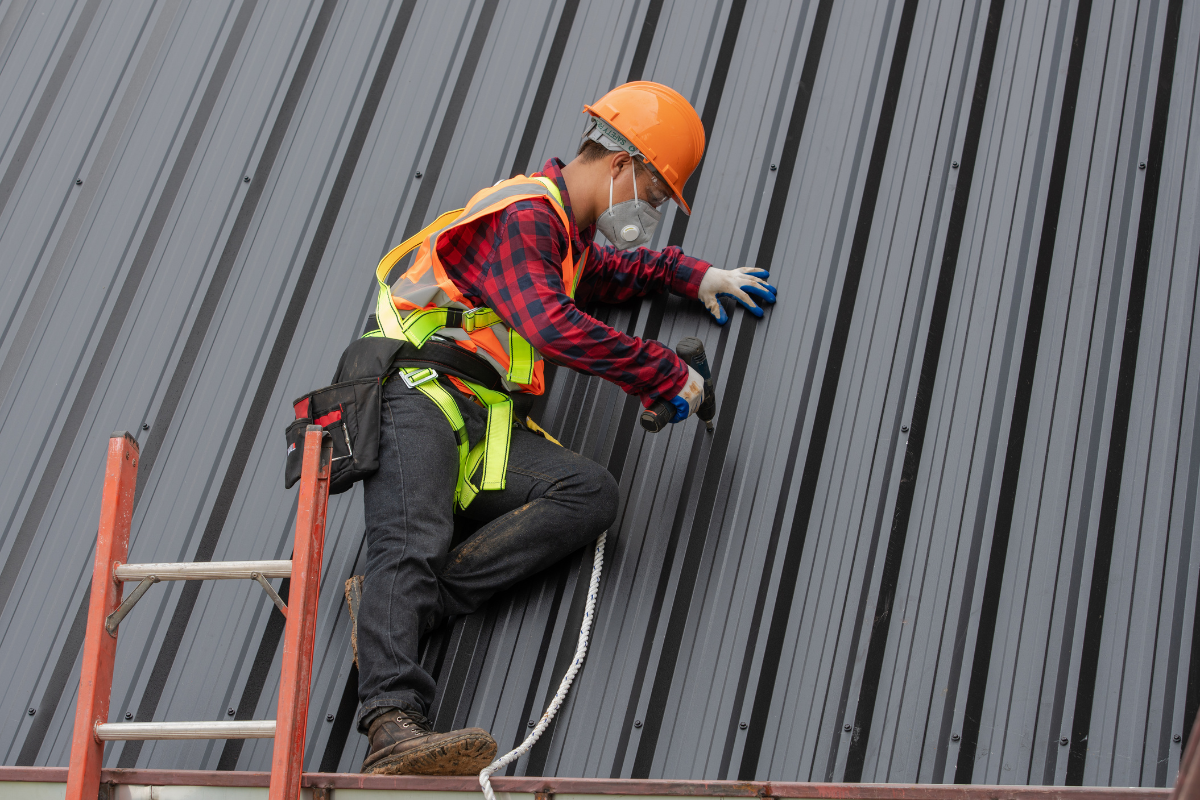
Safety, access, and the right day to work
Metal roofs are unforgiving with dew, frost, and dust. Footing goes from secure to skating rink in a moment. I prefer to schedule repairs mid-morning after the dew burns off and before the afternoon heat makes sealants too thin. Wear soft-soled boots that grip ribs without scuffing the finish.
Use walk pads or foam blocks on steep panels, and never step on the high rib of a snap-lock system near the panel edge. You can unzip the seam or dent the rib. Tie off. I have watched experienced techs slip while carrying a bucket of coating. The only reason they tell the story is because they were clipped in.
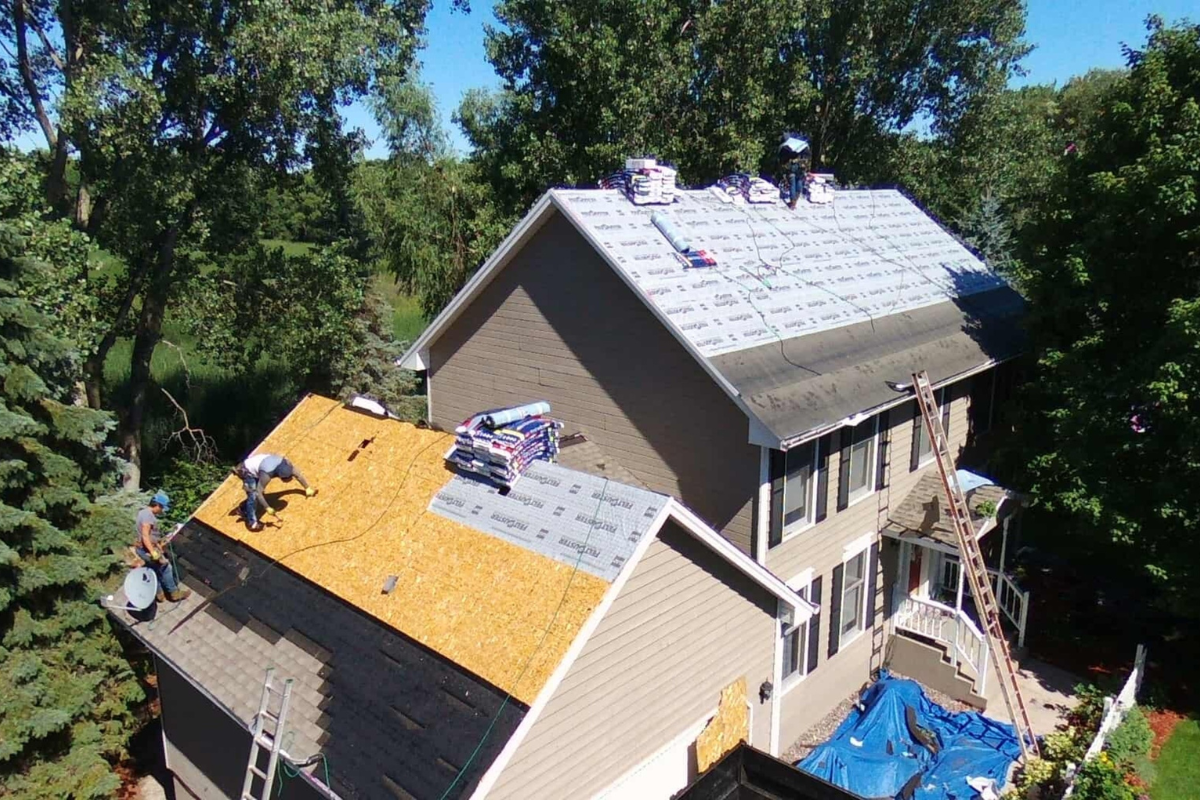
When repair becomes replacement
A metal roof that has been neglected for twenty years can still surprise you, but there is a threshold where metal roof replacement beats incremental repair. The signs are clear: widespread fastener pull-out with no bite left in the substrate, severe corrosion around penetrations, paint failure across large areas with red rust, and multiple panels oil-canning so hard they telegraph structural movement. If the repair map covers more than a third of the field, you are spending good money after bad. At that point, a new metal roof installation, or a retrofit system over spacer blocks, delivers better value.
A solid metal roofing company will show you the math. If patching costs over the next three years approach 40 to 60 percent of a new roof, step back and ask for a replacement plan. On commercial roofs, consider tax treatment in your jurisdiction, including whether a roof qualifies for accelerated depreciation. On residences, the question is more about resale confidence and the cost of maintaining a patchwork.
Materials that belong on your truck
Every pro has a preferred kit. The brand names vary, but the categories do not. The basics: a high-solids, non-silicone sealant compatible with painted metal; butyl tape in at least two widths; stitch screws and structural screws with long-life coatings; blind rivets with sealed mandrels; a small coil of matching sheet metal for patches; color-matched touch-up paint; solvent cleaner that leaves no residue; scotch-brite pads; and a hand seamer.
I add a moisture meter for the interior, a thermal camera for tracing wet insulation under a commercial roof, and a hose with a spray nozzle for controlled testing. A helper with a radio inside the building can cut an hour off the hunt.
Field testing without making things worse
Hose testing works if the prep is careful. Start low and work upslope, wetting specific areas for several minutes while someone watches inside. Do not flood the roof. That can force water into places it would never go. Target one detail at a time: a skylight corner, a ridge fastener line, a panel lap. If you see a drip inside within three to five minutes of wetting a detail, you are close to the source. Mark it, dry it, and open the assembly to inspect if needed.
On commercial metal roofing over insulation, you might have a time lag. Water can travel along a purlin or within a vapor retarder. Thermal imaging at dawn, when the roof surface is cooling or warming unevenly, can reveal wet zones that stay cool longer. It is not perfect, but it helps focus the repair.
Working with contractors and setting scope
If you do not repair roofs every week, hire a specialist. Not every general roofer is fluent in metal roofing installation logic. Ask for specifics: what sealants do they use, how do they treat transverse seams, do they have a portable seamer for double-lock systems, can they fabricate on site. Reputable metal roofing contractors can answer without hedging. They should also talk you out of full coatings if the details have not been corrected.
For homeowners, look for local metal roofing services with references on similar roof types. Residential metal roofing often uses different flashings than big box store stock. The best crews bring a brake and shear to the driveway and adjust the profile to the home’s quirks. A contractor who only proposes surface caulking around skylights is not thinking long term.
On commercial projects, write the scope with measurable targets. Example: replace 10 percent of fasteners in identified zones with oversize screws, add 4 inch butyl tape under all upslope laps at units A through D, rebuild side flashings at wall line 100 feet long, then apply 20 mil elastomeric topcoat after adhesion testing. Specificity prevents the common problem of a bill full of “miscellaneous leak repairs.”
The economics of small leaks
Ignore a small leak and you will pay for it three times: first in stained ceilings, then in soaked insulation that clobbers energy performance, and finally in hidden corrosion that weakens the panel or purlin. I have opened roofs where a pinhole over a decade turned into a 4 foot stripe of rusted decking. Early, precise repairs pay back quickly.
For budgeting, plan on an annual inspection with minor maintenance for large https://privatebin.net/?4bca0fb704a52ad5#5jEfiq9eDwdJ1q1Sq4eyJBoVcFGScZzBouNxPEAvs4gn facilities, and every two to three years for homes. The cost is modest compared to reactive service calls after a storm. Your roof does not need much, but it needs it before the rain.
Common mistakes that keep leaks alive
I see the same missteps on repeat.
- Relying solely on surface sealant. It dries, cracks, and leaves you worse off next season. Always combine mechanical reattachment, tapes, and correct trim geometry before sealant. Mixing incompatible chemistries. Silicone over polyurethane, or vice versa, often fails. Clean to bare, prime if needed, and stay within one family of products approved for painted metal. Overdriving fasteners. A crushed washer or dimpled panel invites leaks and shortens the washer life. Use a clutch and stop early. Ignoring movement. A static fix at a dynamic joint will shear. Use slotted holes, floating clips, and flexible tapes where the roof breathes. Blocking water paths. People love foam cans. Stuffing foam into a rib channel near a wall looks helpful until it dams water and shoots it sideways under a flashing.
The repair that lasts always respects how water wants to behave and how metal moves.
A brief story from the field
A logistics warehouse called after three different crews failed to stop a leak near a rooftop unit. The interior drip showed up only during long, wind-driven rains from the southwest. Their last contractor had bedded the entire curb in silicone. It held for a month, then failed worse.
We found the source within an hour. The unit sat on a curb that was only 3 inches tall on the upslope. During wind-driven rain, water piled up and crept under the shallow pan flashing at the upslope curb edge. The side flashings also lacked end dams at the rib channels, so when water reached the sides it rolled into the ribs and ran 15 feet down into the building.
We removed the brittle sealant, cleaned to bare, installed a new upslope pan that extended two full ribs wider with double rows of butyl, added proper end dams at each rib, and reworked the side flashings with hemmed edges. A light bead of compatible sealant covered fastener lines, but the assembly relied on shape, not goop. We hose tested for half an hour. Dry. The warehouse stayed dry after the next storm, and the maintenance team learned to look for geometry, not just gaps.
Choosing between spot repair, section retrofit, and full replacement
Sometimes a cluster of problems sits in a particular zone, such as around a bank of old skylights or a wall line that sees drifting snow. In those cases, a section retrofit makes sense. Remove the compromised panels and trims in a 20 by 40 foot area, install new underlayment if the design calls for it, and rebuild with matching or compatible profiles. This approach keeps costs below a full tear-off while resetting the detail logic.
If the roof is a patchwork of multiple profiles and ages, or the original metal roof installation is fundamentally flawed, your best move is to plan a new metal roof installation with a system that fits the building’s movement and climate. For wide, low-slope spans, consider a mechanically seamed standing seam with continuous clips, not a snap-lock originally aimed at residential pitches. The right system choice at replacement time solves decades of recurring leaks.
Where service fits into the life of a roof
Good metal roofing services are not just emergency crews. They are the ones who keep fasteners seated, clear debris from valleys and behind equipment, check sealant condition at penetrations, and advise when a curb or pipe needs a better boot. I tell building owners to treat metal roof repair like an HVAC inspection. Twice a year for big buildings, at least once for homes. Catch a loose fastener line early and you avoid the kind of under-panel wetting that sneaks into insulation.
If your area has harsh winters or coastal exposure, tighten the schedule. Salt and ice punish coatings and joints. A quick spring check after freeze-thaw cycles can save a summer of frustration.
What to ask a contractor before they climb your ladder
If you are hiring a metal roofing repair service, a few direct questions will reveal a lot.
- What is your standard sealant for painted steel and aluminum, and why? Listen for non-silicone options and mention of compatibility. How do you fix a transverse lap on a through-fastened panel? Butyl tape and stitch fasteners should be in the answer. Can you fabricate hemmed end dams and pan flashings on site? If not, where do they source them? Will you photograph all suspect areas and mark the repair on a roof plan? Accountability matters, especially for commercial roofs. How do you test your repairs? A methodical hose test beats hope.
Contractors who answer plainly are the ones who will respect the system and leave you with a dry roof.
Final thoughts from the ridge
A metal roof is a patient teacher. It rewards those who notice small clues and who respect the craft that went into the original build. When you chase a leak, you are not just sealing a hole, you are restoring a water-shedding logic that works through storms and seasons. Do the small, precise things right: reset the fasteners with care, rebuild the flashing shapes, use butyl tapes where the laps need memory, and reserve coatings for when the details are already sound.
If you are weighing repair against replacement, have a metal roofing company walk the roof with you. Talk through how the panels move, where the water runs, and what it would take to bring the system back to its best. Sometimes the answer is a targeted metal roof repair. Sometimes it is a disciplined metal roof replacement. Either way, a clear plan beats a tube of silicone and a prayer.
Metal Roofing – Frequently Asked Questions
What is the biggest problem with metal roofs?
The most common problems with metal roofs include potential denting from hail or heavy impact, noise during rain without proper insulation, and higher upfront costs compared to asphalt shingles. However, when properly installed, metal roofs are highly durable and resistant to many common roofing issues.
Is it cheaper to do a metal roof or shingles?
Asphalt shingles are usually cheaper upfront, while metal roofs cost more to install. However, metal roofing lasts much longer (40–70 years) and requires less maintenance, making it more cost-effective in the long run compared to shingles, which typically last 15–25 years.
How much does a 2000 sq ft metal roof cost?
The cost of a 2000 sq ft metal roof can range from $10,000 to $34,000 depending on the type of metal (steel, aluminum, copper), the style (standing seam, corrugated), labor, and local pricing. On average, homeowners spend about $15,000–$25,000 for a 2000 sq ft metal roof installation.
How much is 1000 sq ft of metal roofing?
A 1000 sq ft metal roof typically costs between $5,000 and $17,000 installed, depending on materials and labor. Basic corrugated steel panels are more affordable, while standing seam and specialty metals like copper or zinc can significantly increase the price.
Do metal roofs leak more than shingles?
When installed correctly, metal roofs are less likely to leak than shingles. Their large panels and fewer seams create a stronger barrier against water. Most leaks in metal roofing occur due to poor installation, incorrect fasteners, or lack of maintenance around penetrations like chimneys and skylights.
How many years will a metal roof last?
A properly installed and maintained metal roof can last 40–70 years, and premium metals like copper or zinc can last over 100 years. This far outperforms asphalt shingles, which typically need replacement every 15–25 years.
Does a metal roof lower your insurance?
Yes, many insurance companies offer discounts for metal roofs because they are more resistant to fire, wind, and hail damage. The amount of savings depends on the insurer and location, but discounts of 5%–20% are common for homes with metal roofing.
Can you put metal roofing directly on shingles?
In many cases, yes — metal roofing can be installed directly over asphalt shingles if local codes allow. This saves on tear-off costs and reduces waste. However, it requires a solid decking and underlayment to prevent moisture issues and to ensure proper installation.
What color metal roof is best?
The best color depends on climate, style, and energy efficiency needs. Light colors like white, beige, or light gray reflect sunlight and reduce cooling costs, making them ideal for hot climates. Dark colors like black, dark gray, or brown enhance curb appeal but may absorb more heat. Ultimately, the best choice balances aesthetics with performance for your region.